I did get to do some cleaning in the shed on the weekend just gone, and as part of that I photographed these two useful tips.
Firstly I need some STRONG steel rod for a couple of upcoming projects. One source of high tensile rod is the rod in a gas strut. I always keep my eyes open for any of these being tossed out, and I opened another 2 on the weekend in front of the camera. NOTE: opening these can be dangerous – I take precautions, but don’t blame me if you get hurt doing this!!!
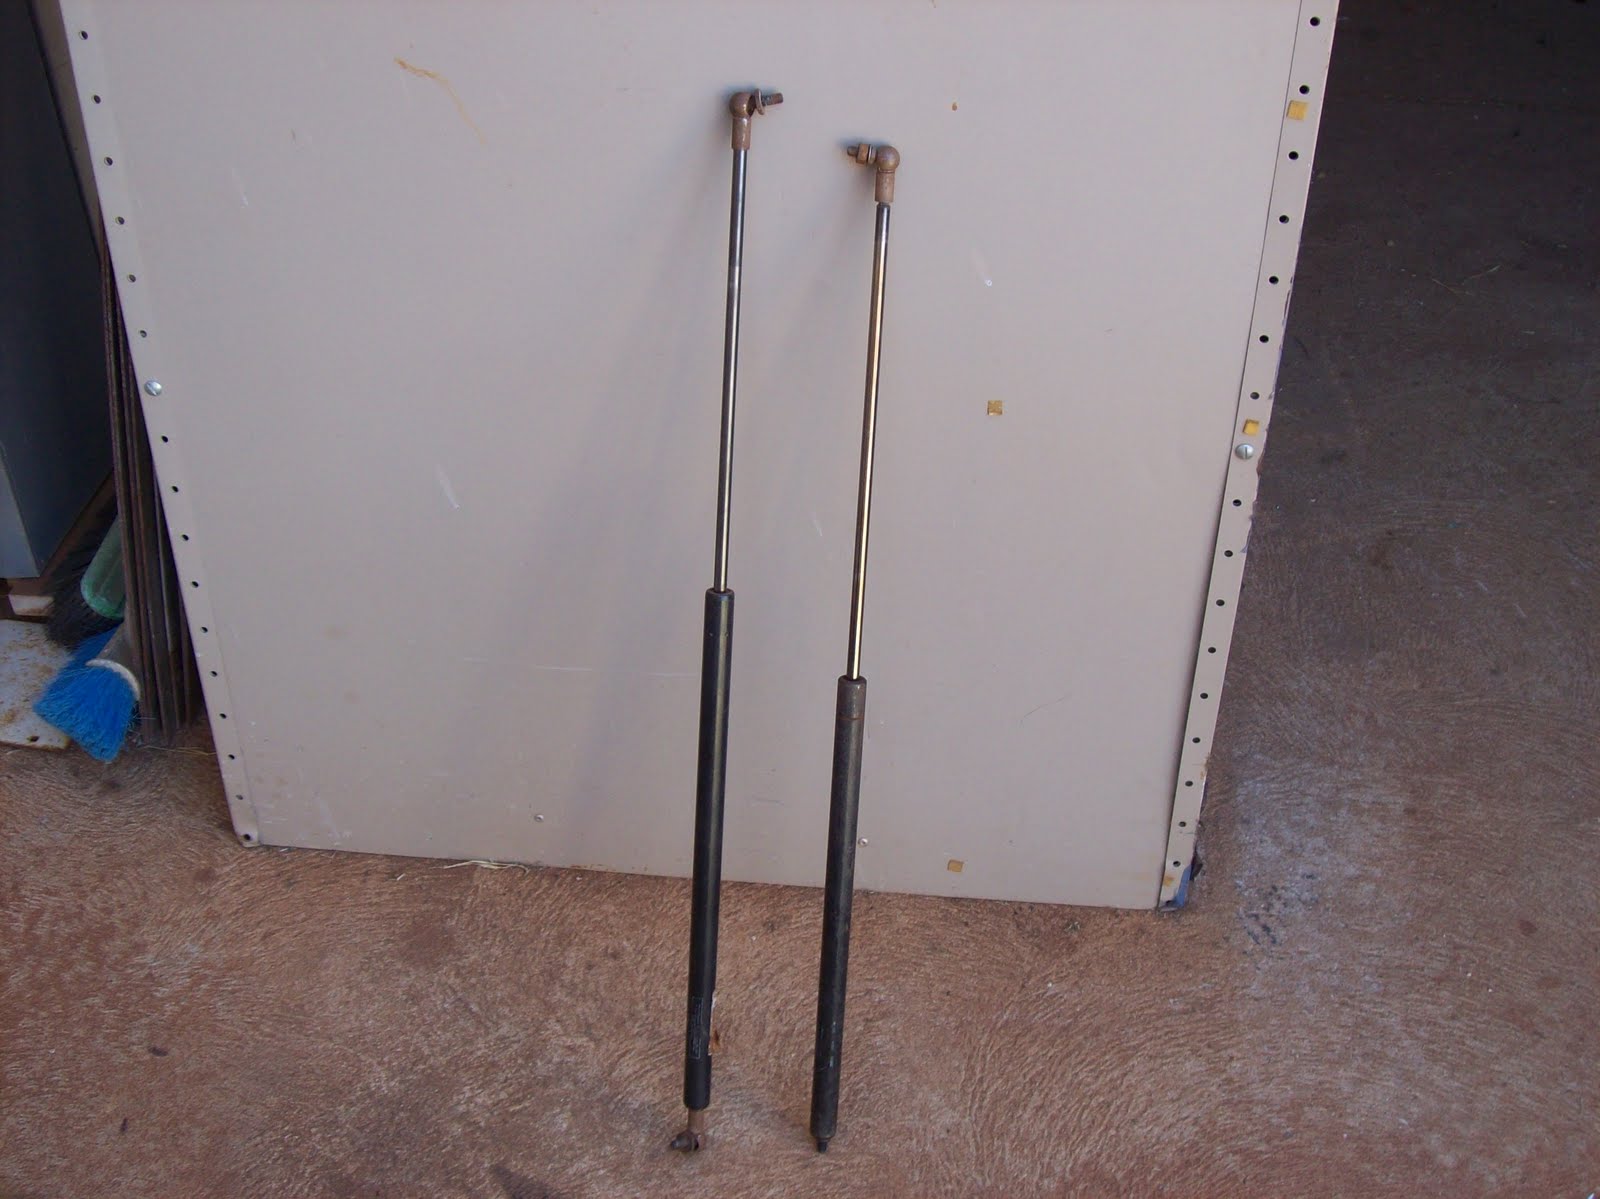
Figure 1. Gas struts as recovered from being tossed out
The cylinder is filled with pressurized gas and oil. Near the end where the rod comes out there is some crimping which acts like a seal/ travel stop. I dress in appropriate PPE ("Personal Protective Equipment - in this case - ear-muffs, face-shield, leather apron) and work with the grinder and cut area pointed away from me. The first longitudinal cut in that area will suddenly release the gas and oil – I point that in a safe direction and let it vent out. Then once vented, I cut 3 or 4 longitudinal cuts for about 20-30mm above the crimped line. This allows me to remove the rod with it’s piston/ seals captive on the end.

Figure 2. Longitudinal cuts through crimped area to allow piston and seals to be pulled out of cylinder
I then grind off the peened over section of rod, and remove the piston/ seals from the rod.

Figure 3. Showing the peened end of the rod in the piston
The result is a strong, straight length of high tensile steel which has a polished surface. I now have 4 of these rods, one will be used to make the mast/pillar for the magnetic DTI base, another for my upcoming taper turner project, and the other 2 (matched pair) will be set aside as candidates for a Z axis slide in my CNC mill project. The photo below shows the 2 recovered rods on the RHS of the grinder.

Figure 4. Salvaged high tensile steel rods.
A useful tip I picked up from one of the contract firms I saw at a worksite…
We all have had a retractable steel tape measure break on us from time to time, I used to throw them out when I realized I “never get around to fixing them” – Not anymore.

Figure 5. Broken 8m tape measure
Instead I now open them up carefully
Using some heavy duty scissors (good tin-snips will do here as well) I carefully cut the measuring tape into useful pieces

Figure 6. Opened tape measure and snips
Since Oz is a metric country, most tape measures will have meters (with or with out imperial markings on the other side) so I cut the tape on the multiples of 1 meter.

Figure 7. Tape cut on meter markings
The resulting pieces are used as “disposable” yard sticks – useful for taking to messy places, using at the welding table, etc.
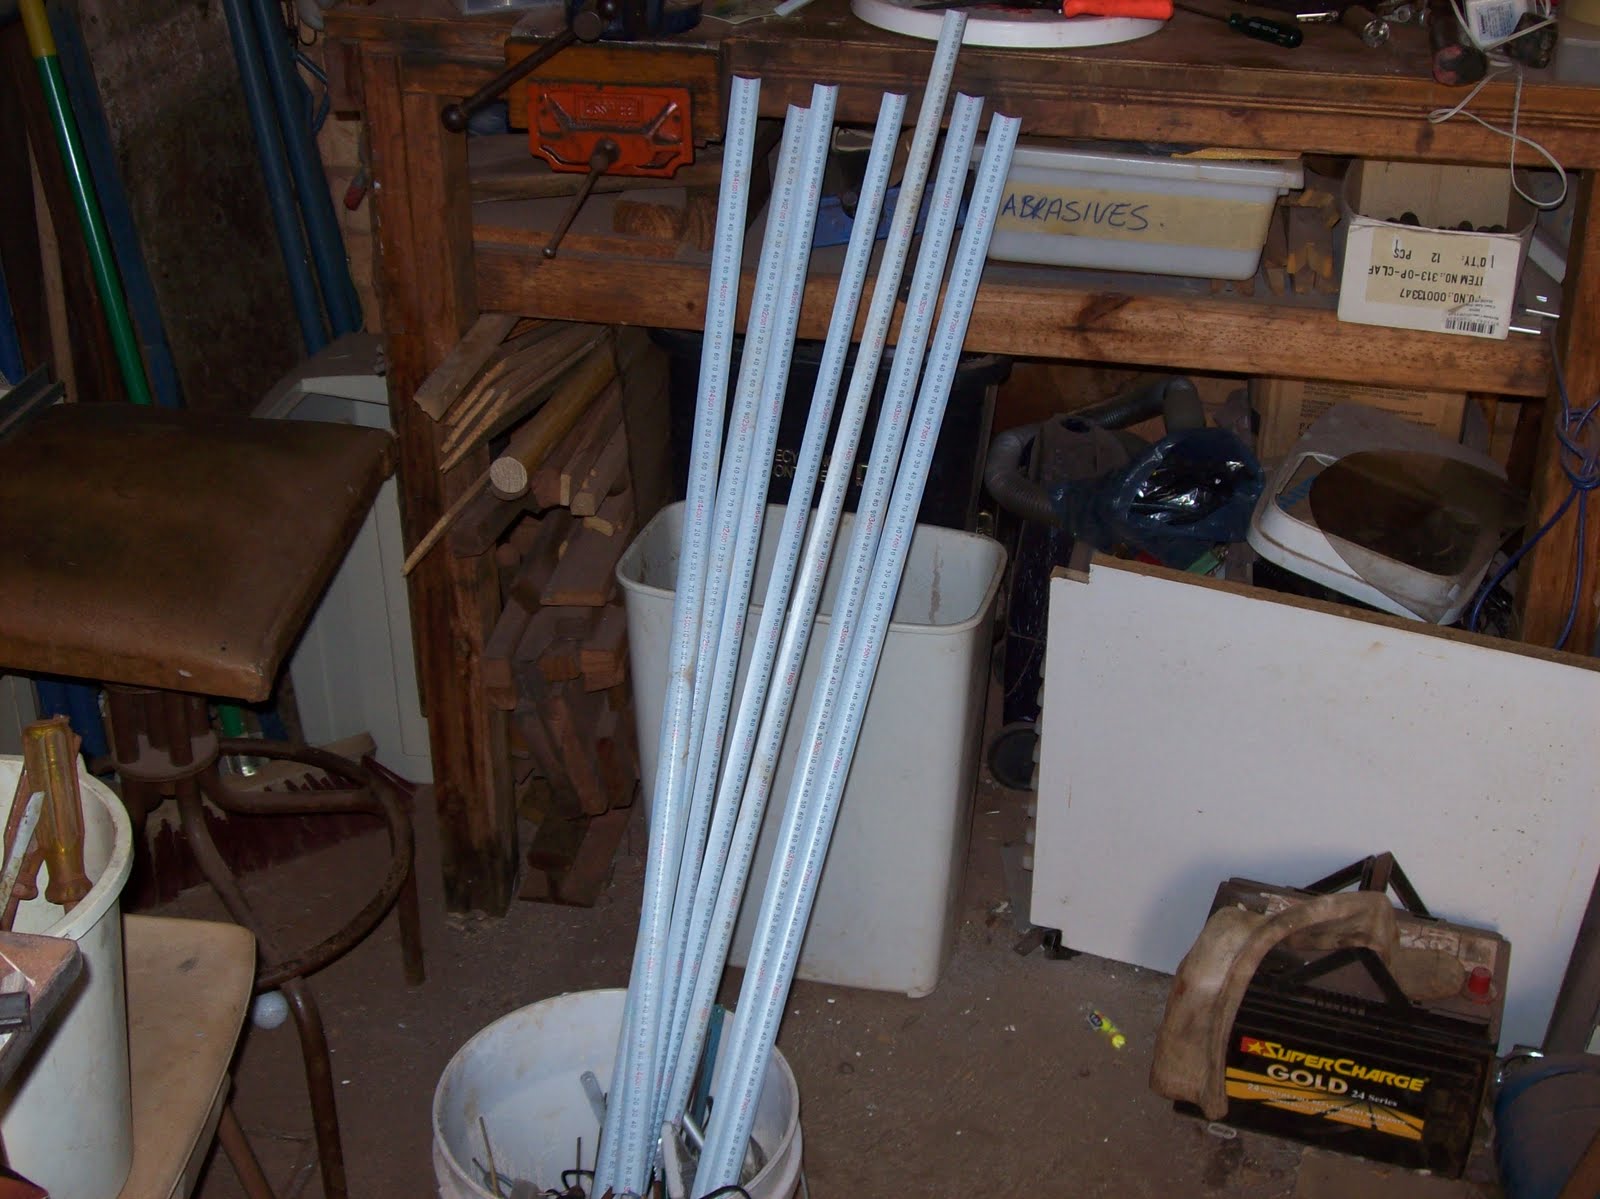
Figure 8. Seven 1m "yard sticks" made from one broken tape measure
I keep a stash of them threaded in the frame of the shed door – always there ready for use whenever I need a ruler for measuring something.

Figure 9. About 15 yard sticks threaded in the door frame of the shed.
I have 2 broken tape measures I haven’t cut up yet “in storage” for my CNC mill – these will be affixed on the sides of the axes for quick positioning/ verification under jog/ MPG control.
If I have time, I’ll put up the account of the other salvaged/ scrounged useful junk I worked on during this weekend’s clean up. (free shim steel and “free” parallels)
Time - it always comes back to that - a question of what to do with the limited amount you have each day...


