I had this one gas cylinder, it was from inside a pressurised water extinguisher. The bottom of it was a perfect hemispherical shape, and the diameter was perfect for Bender's eyes... the problem was I only had one of them.

I decided to use this one cylinder as a positive pattern, and make molds so I could replicate the hemispherical end. I cut up a scrap piece of 4" pipe for flasks, and using common packing tape to close off the bottom, half filled the pipe segments with sieved clay mixed sand. I tamped the sand down as I put it in the flask, and tamped the sand around the pattern as I sprinkled more sand in. Effectively I was creating an "open face mold" for each eye. I created six molds as shown in the photo below. The long 1/2" bolt was used for tamping the sand.
 Now I had the hemispherical shape of Bender's eyes sorted, I needed a way to attach them to the rest of his head. I'd designed the use of an "eye-plate" which would bolt to the rest of his head, and essentially be a carrier for the eyes. This design made fabrication easier, and allowed for other features such as "clip on eyelids". To attach the eyes to the eye-plate, I made up some fixtures which were basically a 1/4" bolt, with some heavy wire welded to it. One leg of the wire was bent parallel to the bolt, and presented 15mm (~5/8") away from the bolt centre. This leg was to stop the eye rotating around the bolthole when fixed to the eye-plate. The rest of the wire was simply bent in a loose loop to be encased in the eye casting. The photo below shows a row of bolts, having their heads welded to the wire loops, holes drilled in the aluminium extrusion maintains the spacing of the bolt and the wire prong.
 The molds were then filled with "post mix" cement, and the bolt/wires fixtures were inserted. The cement was left over from another job, and used pretty much straight from the bag, but I'd sieved out the larger aggregate so it'd flow better in the molds, and not have any inclusions.
 Once the cement had cured, I removed them from the sand molds, and cleaned them up, and sealed them with sealer undercoat paint. I had a hiccup when two of the eye rolled whilst the paint was drying, and stuck to the benchtop, when I pulled them off, the paint pulled out of the cement - this was a warning of what was to come.
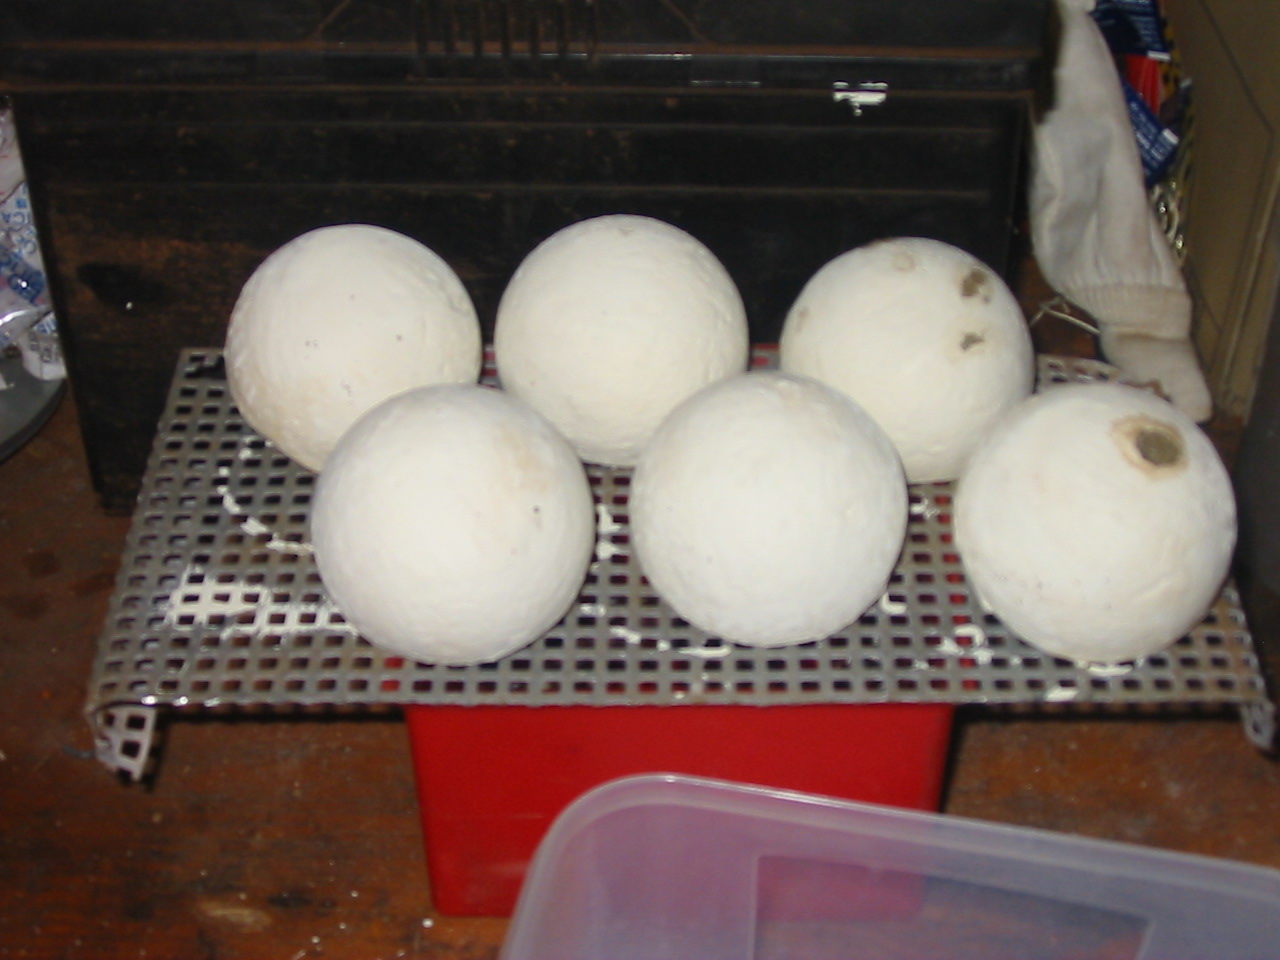 Maybe the cement was old, maybe removal of the aggregate did something, maybe the phase of the moon was wrong, maybe the mix was too wet, maybe, maybe, maybe - whatever the reason, the eyes were too fragile. I found I could "cut" them with my thumb nail, and I accidently dropped one of the eye-plates when it was loaded with the eyes, and the eyes flew apart. (see photo below)
 Based on that, I decided cement eyes were not going to work. I retained the eye fixtures, plates, and started looking for a better method. What worked was only a minor deviation from this plan, but it worked well.

No comments:
Post a Comment